As the harsh Canadian winter finally retreats and temperatures cautiously climb above zero, we collectively face a stark sartorial reality: the return of exposed skin. Yet, for the vast majority, peeling away months of thermal layers reveals legs that mimic the cracked pavement outside—ashy, lackluster, and deeply dehydrated from months of aggressive central heating. The immediate instinct is to reach for a thick bottle of lotion and massage it into dry limbs, but emerging dermatological consensus suggests this ritual is fundamentally flawed. In fact, applying moisturizer to dry skin is often a failed delivery system, leaving product sitting impotently on the surface while the deeper layers remain parched.
There is, however, a rapidly trending method that is dismantling the traditional moisturizing routine: the "Oil-on-Wet" technique. This protocol does not rely on expensive new formulations but rather on a precise manipulation of timing and physics. By altering the moment of application, you can trap up to ten times more hydration than standard lotioning, transforming dull, “ashy” legs into the highly coveted “glazed” aesthetic used by runway models. Before you towel off tomorrow morning, you need to understand why your current routine is evaporating into thin air.
The "Lotion Loophole": Why Dry Application Fails
To understand the efficacy of the "Oil-on-Wet" hack, we must first diagnose the failure of applying cream to dry skin. The skin’s barrier, the stratum corneum, functions similarly to a sponge. When a sponge is bone dry and hard, pouring a thick cream onto it results in the product sitting on top, requiring immense friction to penetrate. Conversely, a damp sponge absorbs fluid instantly. When you towel dry completely before moisturizing, you allow the water from your shower to evaporate—a process known as Transepidermal Water Loss (TEWL)—stripping the skin of the very hydration you are trying to preserve.
Experts advise that the critical window for moisture retention closes within 60 seconds of turning off the water. Standard lotions applied after this window act merely as emollients (smoothers) rather than true hydrators. The "Oil-on-Wet" method leverages the water already on your skin, using an occlusive oil to physically seal that water into the pores before it interacts with the dry air. This creates a hydrostatic seal that mimics the skin’s natural lipid barrier.
Comparison: The Efficacy of Application Timing
| Parameter | Traditional Dry Application | Oil-on-Wet Technique |
|---|---|---|
| Absorption Mechanism | Friction-based (rubbing in) | Hydro-encapsulation (trapping) |
| Product Usage | High volume needed for spread | Minimal volume (high spreadability) |
| Target Audience | Maintenance for normal skin | Chronically dry, ashy, or aging skin |
| Finish | Matte or tacky residue | High-gloss "Glazed" sheen |
Understanding the timing is crucial, but executing the technique requires a specific protocol to ensure safety and maximum absorption.
The Protocol: Executing the Glazed Technique
- Your chapped lips are a “moisture leak” and this overnight slugging ritual heals them
- Your smartphone is aging you faster than the sun: why this happens
- The “Cool-Toned Nude” officially replaced the 2025 warm-brown trend
- Your “spring shedding” is a clogged pore crisis and this $2 homemade scrub stops it
- Stop the “ashy” spring leg look with the record-breaking “oil-on-wet” hack
Step-by-Step Dosing and Application
- Step 1: The Rinse. Finish your shower as usual. Do not reach for the towel. Turn the water off and stand in the stall.
- Step 2: The Dosing. While your skin is still dripping wet, dispense 3-5ml (approx. one teaspoon or 2 pumps) of body oil into your palm. Warm it by rubbing hands together for 5 seconds.
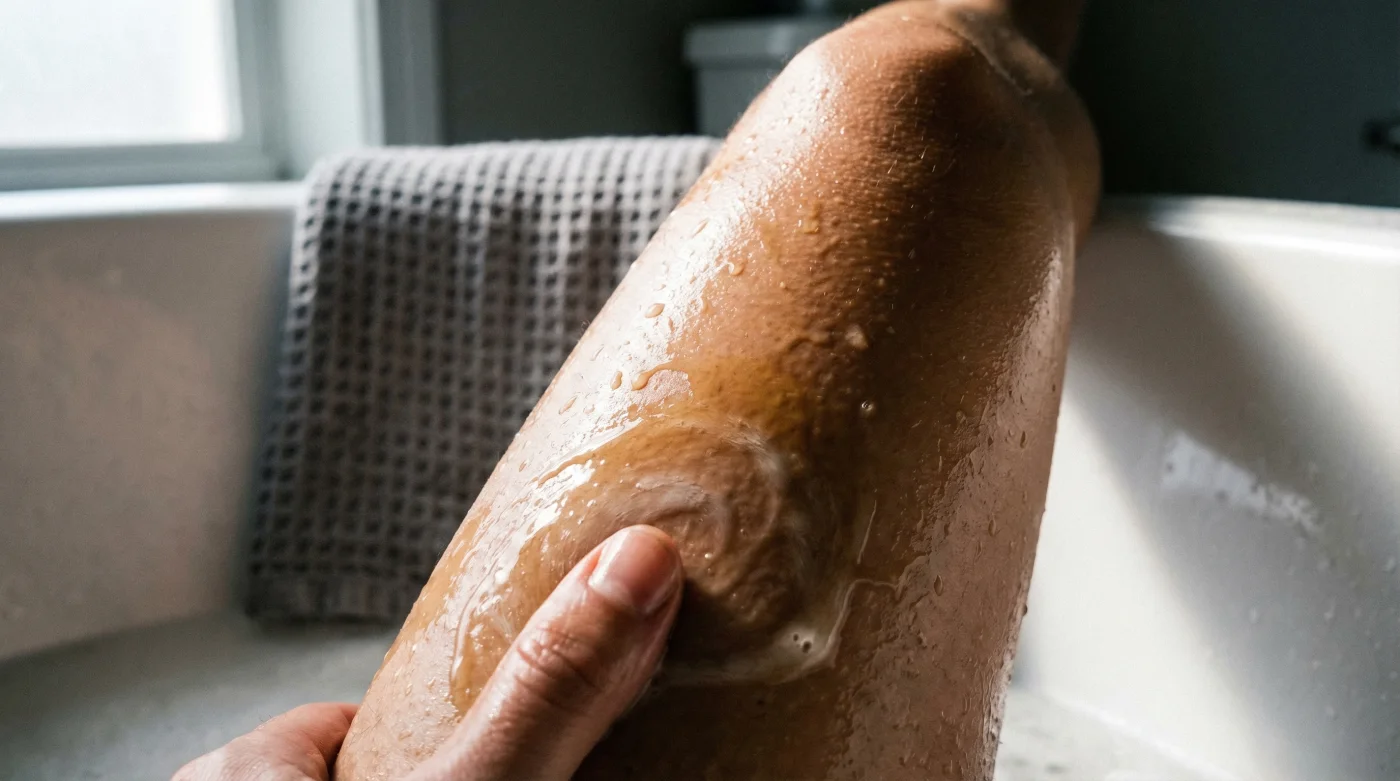
- Step 3: The Application. Sweep the oil over your wet limbs. The water acts as a vehicle, allowing the small amount of oil to cover the entire leg instantly. Massage for 30 seconds.
- Step 4: The Pat-Dry. This is critical. Do not rub with a towel. Gently pat the skin dry. The towel will absorb the excess water droplets, but the oil will remain bonded to the skin, trapping the moisture underneath.
Studies confirm that this method of occlusion can increase hydration levels by significant margins compared to post-drying application.
Technical Data: Occlusive Performance
| Metric | Data Point | Implication |
|---|---|---|
| Moisture Retention | +300% vs. dry application | Prevents rapid evaporation post-shower. |
| Barrier Recovery | Accelerated by 40% | Vital for repairing winter-damaged skin. |
| Viscosity Requirement | Low to Medium | Heavy oils may not spread as effectively on water. |
However, simply grabbing any oil from your kitchen cupboard is a recipe for disaster; the molecular size of the lipid determines whether you get a glaze or a breakout.
Ingredient Architecture: Selecting the Right Lipid
Not all oils are compatible with the "Oil-on-Wet" technique. Heavier oils with large molecular structures can sit heavily on the skin, trapping heat and potentially causing folliculitis (inflammation of hair follicles). For the "Glazed" limb look, you require oils high in linoleic acid or those that mimic human sebum, such as squalane or jojoba. These are known as dry oils because they absorb quickly despite the wet application.
When shopping in the Canadian market, look for products labeled as "Body Oils" rather than "Massage Oils," as the latter are designed to stay on the surface specifically to reduce friction, which is the opposite of what we want for daily hydration.
The Lipid Quality Guide
| Category | Ingredients to Prioritize | Ingredients to Avoid |
|---|---|---|
| Best for “Glazed” Look | Jojoba Oil (wax ester), Squalane (biocompatible), Grapeseed Oil (lightweight). | Mineral Oil (pure occlusive, zero nutrient value), Coconut Oil (highly comedogenic/pore-clogging). |
| Best for Repair | Rosehip Oil (Vitamin A), Argan Oil (Vitamin E). | Synthetic fragrances (can irritate damp, permeable skin). |
Even with the correct product, your skin provides signals that indicate if the technique is working or if adjustments are required.
Diagnostic Guide: Troubleshooting Your Results
Implementing a new bioactive habit often requires calibration. Your skin’s response to the "Oil-on-Wet" method can tell you exactly what is happening at the cellular level. Use this diagnostic list to refine your routine:
- Symptom: Greasy residue on towels/clothes.
Cause: Over-dosing. You are using too much oil for the amount of water present. Reduce to 1 pump per limb. - Symptom: Still seeing “ashy” flakes after drying.
Cause: Dead cell accumulation. The oil cannot penetrate layers of dead skin. You must introduce a physical exfoliant twice a week before the oil step. - Symptom: Small red bumps (Folliculitis).
Cause: The oil is too heavy or comedogenic (likely Coconut or heavy Olive oil). Switch to Squalane or Grapeseed immediately. - Symptom: Skin feels tight by mid-day.
Cause: Insufficient water during application. Ensure skin is dripping wet, not just damp, when applying the oil to maximize the trapped hydration reservoir.
By shifting your hydration habit by just three minutes and applying your lipid layer before the towel touches your skin, you effectively seal in the spring moisture needed to achieve that high-gloss, healthy aesthetic.
Read More